Crafting the Perfect Homemade Eggnog Ice Cream: A Festive Delight
There's something truly magical about the aroma and taste of eggnog during the holiday season. It evokes feelings of warmth, celebration, and nostalgia. But what if you could capture that festive spirit in a delightful frozen treat? Enter homemade eggnog ice cream – a rich, creamy, and utterly irresistible dessert that transforms a classic holiday drink into an extraordinary indulgence. Forget the store-bought tubs; making your own eggnog ice cream at home is surprisingly straightforward and yields a flavor unparalleled in its depth and festive charm. It’s the kind of dessert that makes guests ask for seconds and leaves a lasting impression, feeling truly like "Christmas in a bowl."
This article will guide you through creating the best homemade eggnog ice cream, focusing on key ingredients, essential techniques, and expert tips to ensure a perfectly smooth and flavorful batch every time. Whether you're looking for a unique dessert to serve after a holiday dinner or simply want to enjoy a scoop of festive cheer, this recipe is your ticket to a memorable culinary experience.
The Essential Ingredients for Unforgettable Eggnog Ice Cream
The secret to exceptional eggnog ice cream lies in understanding the role of each ingredient. While the core components might seem simple, their quality and proper ratios are what elevate a good ice cream to a great one. Here’s a detailed look at what you’ll need and how each contributes to the final masterpiece:
- Whole Milk: This forms the base of our custard, contributing to the overall liquid content and a foundational creaminess. While 2% milk can be used for a lighter version, be prepared for a slightly less rich and creamy texture. The higher fat content in whole milk significantly impacts the mouthfeel, preventing iciness and promoting a smoother consistency.
- Heavy Cream: The undisputed champion of richness in any ice cream, heavy cream is absolutely essential. Its high-fat content (typically 36% or more) is what gives the ice cream its luxurious, velvety texture. Skimping on heavy cream by using half-and-half will result in a less decadent and potentially icier product. For those seeking a dairy-free alternative, full-fat coconut cream can offer a surprisingly creamy result, though it will impart a distinct coconut flavor.
- Granulated Sugar: Beyond just sweetness, sugar plays a crucial role in the texture of ice cream by lowering its freezing point, which helps keep it scoopable. You can experiment with different sugars; brown sugar adds a deeper, molasses-like note that complements the eggnog spices beautifully. For dietary considerations, sugar substitutes can be used, but be aware they may affect the final texture and freezing properties.
- Egg Yolks: These are the backbone of our custard-style ice cream. Egg yolks are natural emulsifiers, thanks to the lecithin they contain. They bind the fat and water molecules, creating an incredibly smooth, stable, and rich base that melts beautifully without becoming icy. While cornstarch or arrowroot can serve as thickeners if avoiding eggs, they won't replicate the unique richness and melt of an egg-yolk-based custard.
- Eggnog (the Star Ingredient): This is where the magic truly happens! The quality of your eggnog significantly impacts the final flavor. Whether you opt for a high-quality store-bought brand or make your own homemade eggnog (which offers unparalleled control over sweetness and spice), ensure it’s something you genuinely enjoy drinking. For a dairy-free twist, explore almond or coconut eggnog varieties, understanding that they will introduce subtle flavor shifts.
- Nutmeg: The quintessential spice of eggnog, nutmeg provides that classic holiday aroma and taste. For the best flavor, freshly grated nutmeg is always superior to pre-ground. A small grater makes this an easy task. If you don't have nutmeg, a pinch of cinnamon is a decent substitute, but it will alter the classic eggnog profile slightly. Consider a blend of nutmeg, cinnamon, and a tiny pinch of clove or allspice for a more complex spice bouquet.
- Vanilla Extract: A splash of vanilla enhances all the other flavors, adding depth and warmth. High-quality vanilla extract or even vanilla bean paste will make a noticeable difference in the overall aromatic profile of your ice cream.
- Pinch of Salt: Often overlooked in sweet recipes, a small pinch of salt is vital. It balances the sweetness and brings out the nuances of the other flavors, preventing the ice cream from tasting one-dimensional.
- Optional Alcohol (Rum or Bourbon): For an authentic, grown-up flavor, 1-2 tablespoons of rum or bourbon can be added. Beyond flavor, alcohol also helps keep the ice cream softer and more scoopable by interfering with the formation of large ice crystals. It's a small but impactful addition for those who enjoy the classic boozy notes of traditional eggnog.
Mastering the Custard Base: The Tempering Technique
The foundation of any truly great custard-based ice cream is a perfectly executed crème anglaise, and the key to that is a technique called tempering. Tempering egg yolks is perhaps the most crucial step in this recipe, preventing them from scrambling into an unappealing mess and instead integrating them smoothly into your dairy base. This process ensures a silky, luxurious texture for your super creamy eggnog ice cream, making a huge difference in the final product.
Here’s how to temper your egg yolks like a pro:
- Heat the Dairy: In a medium saucepan, combine your whole milk, heavy cream, and about half of your granulated sugar. Heat this mixture over medium heat, stirring occasionally. The goal is to get it hot and steamy, but *not* boiling. You'll see small bubbles forming around the edges and steam rising. This gentle heat helps to warm the yolks without shocking them.
- Prepare the Yolks: In a separate, heatproof bowl, whisk together the egg yolks and the remaining granulated sugar until the mixture becomes pale yellow and slightly thickened. This process helps to break down the yolks and makes them more receptive to the hot liquid.
- The Tempering Process: This is the delicate part. Gradually, and while whisking the egg yolk mixture constantly, slowly drizzle about one cup of the hot milk and cream mixture into the egg yolks. The steady whisking prevents the yolks from cooking unevenly, while the slow addition of hot liquid gradually raises the temperature of the yolks. Think of it as gently introducing them to the heat.
- Return to the Pan: Once tempered, pour the entire egg yolk mixture back into the saucepan with the remaining hot milk and cream. Continue to cook over medium-low heat, stirring constantly with a spatula or wooden spoon, making sure to scrape the bottom of the pan. This continuous stirring is vital to prevent the mixture from sticking and ensures even cooking.
- Cook to Nappe: Cook until the mixture thickens enough to coat the back of a spoon (this is known as "nappe"). If you run your finger across the coated spoon, it should leave a clear trail. A good temperature to aim for is between 170-175°F (77-79°C). Do NOT let the mixture boil, as this will curdle the eggs.
- Strain (Optional but Recommended): For an extra silky smooth texture, you can strain the custard through a fine-mesh sieve into a clean bowl. This catches any tiny bits of cooked egg or impurities.
Taking your time with tempering will be rewarded with an impeccably smooth and rich base for your easy homemade eggnog ice cream, setting the stage for an extraordinary dessert.
Step-by-Step Recipe Guide for the Best Eggnog Ice Cream
Now that we've covered the crucial ingredients and tempering technique, let's put it all together to create your masterpiece. This recipe yields approximately 1 quart of rich eggnog ice cream and requires an ice cream maker.
Total Time: Approximately 8 hours (15-20 min active prep, 4+ hours chilling, 4+ hours freezing)
Ingredients:
- 2 cups whole milk
- 1 cup heavy cream
- ¾ cup granulated sugar, divided
- 5 large egg yolks
- ½ cup good quality store-bought or homemade eggnog
- 1 tsp vanilla extract
- ½ tsp ground nutmeg, plus extra for garnish
- Pinch of salt
- Optional: 1-2 tbsp rum or bourbon
Instructions:
- Prepare the Dairy: In a medium saucepan, combine the whole milk, heavy cream, and 3/8 cup (half of ¾ cup) of the granulated sugar. Heat over medium heat, stirring occasionally, until the mixture is hot and steamy but not boiling.
- Whisk the Yolks: In a separate, heatproof bowl, whisk together the 5 large egg yolks with the remaining 3/8 cup of granulated sugar until the mixture is pale yellow and slightly thickened.
- Temper the Yolks: Gradually and slowly, pour about one cup of the hot milk mixture into the egg yolk mixture while continuously whisking. This gentle process prevents the yolks from scrambling.
- Cook the Custard: Pour the tempered egg yolk mixture back into the saucepan with the remaining hot milk mixture. Continue to cook over medium-low heat, stirring constantly with a spatula, until the custard thickens enough to coat the back of a spoon. Do not allow it to boil.
- Finish the Base: Remove the saucepan from the heat. Stir in the ½ cup of eggnog, vanilla extract, ½ tsp ground nutmeg, the pinch of salt, and the optional rum or bourbon. Stir until well combined.
- Chill Thoroughly: Pour the custard into a clean bowl or airtight container. Place plastic wrap directly on the surface of the custard to prevent a skin from forming. Chill in the refrigerator for at least 4 hours, or ideally, overnight, until completely cold. This chilling step is crucial for achieving the best texture when churning.
- Churn the Ice Cream: Once the base is thoroughly chilled, pour it into your ice cream maker's frozen bowl and churn according to the manufacturer's instructions. This typically takes 20-30 minutes, resulting in a soft-serve consistency.
- Freeze to Firm: Transfer the soft ice cream to an airtight container. Press a piece of plastic wrap directly onto the surface of the ice cream to minimize ice crystal formation. Freeze for at least 4 hours, or until firm enough to scoop.
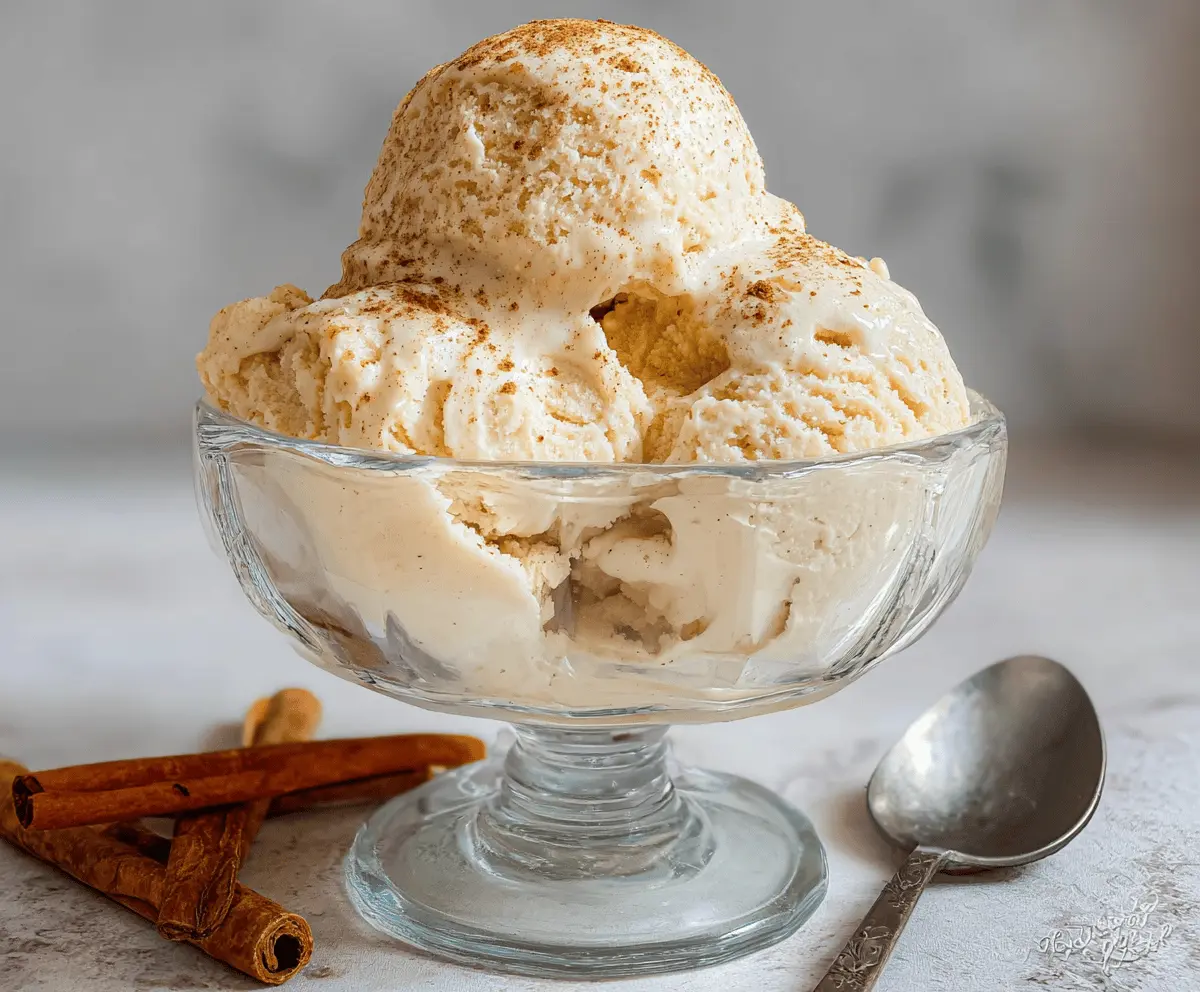
- Serve and Enjoy: When ready to serve, let the ice cream sit at room temperature for a few minutes to soften slightly. Scoop into bowls, garnish with a fresh sprinkle of nutmeg, and savor this festive delight!
Expert Tips for Your Eggnog Ice Cream Perfection
Beyond the recipe, these expert tips will help you achieve ice cream parlor quality results with your homemade eggnog ice cream:
- Pre-Chill Everything: Ensure your ice cream maker's bowl is frozen solid (at least 24 hours in advance) and your custard base is thoroughly chilled. Warm ingredients will lead to icy, less creamy ice cream.
- Don't Rush the Churning: While it's tempting to stop early, let your ice cream maker do its full cycle. This incorporates air and breaks down ice crystals, leading to a smoother texture.
- Optimal Storage: Store your ice cream in a shallow, airtight container. Pressing a layer of plastic wrap directly on the surface before sealing helps prevent freezer burn and the formation of ice crystals on top.
- Serving Temperature: For the perfect scoop, allow your homemade eggnog ice cream to sit at room temperature for 5-10 minutes before serving. This slight softening makes it easier to scoop and enhances its creamy texture.
- Flavor Enhancements: Don't be afraid to adjust the spices to your preference. A tiny hint of cardamom or a bit of orange zest can add another layer of complexity to the classic eggnog flavor.
- Serving Suggestions: This ice cream is fantastic on its own, but also pairs beautifully with holiday pies (apple, pumpkin, or pecan), warm gingerbread cookies, or even a shot of espresso for an affogato twist.
- Troubleshooting Icy Texture: If your ice cream turns out a bit icy, it might be due to too much water content, not enough fat, or insufficient chilling. Next time, consider using slightly more heavy cream, less milk, or adding the optional alcohol to help keep it softer.
Making homemade eggnog ice cream is a rewarding experience that brings a unique twist to holiday traditions. With its rich, custardy base infused with the classic flavors of eggnog and a hint of spice, it's destined to become a new festive favorite. The process, while requiring a bit of patience for chilling and freezing, is straightforward and truly pays off in the incredible flavor and texture. So, embrace the spirit of the season, gather your ingredients, and churn up a batch of this delightful frozen treat. Your guests (and your taste buds!) will thank you for this truly unforgettable holiday dessert.
