Easy Homemade Eggnog Ice Cream: Your New Holiday Tradition
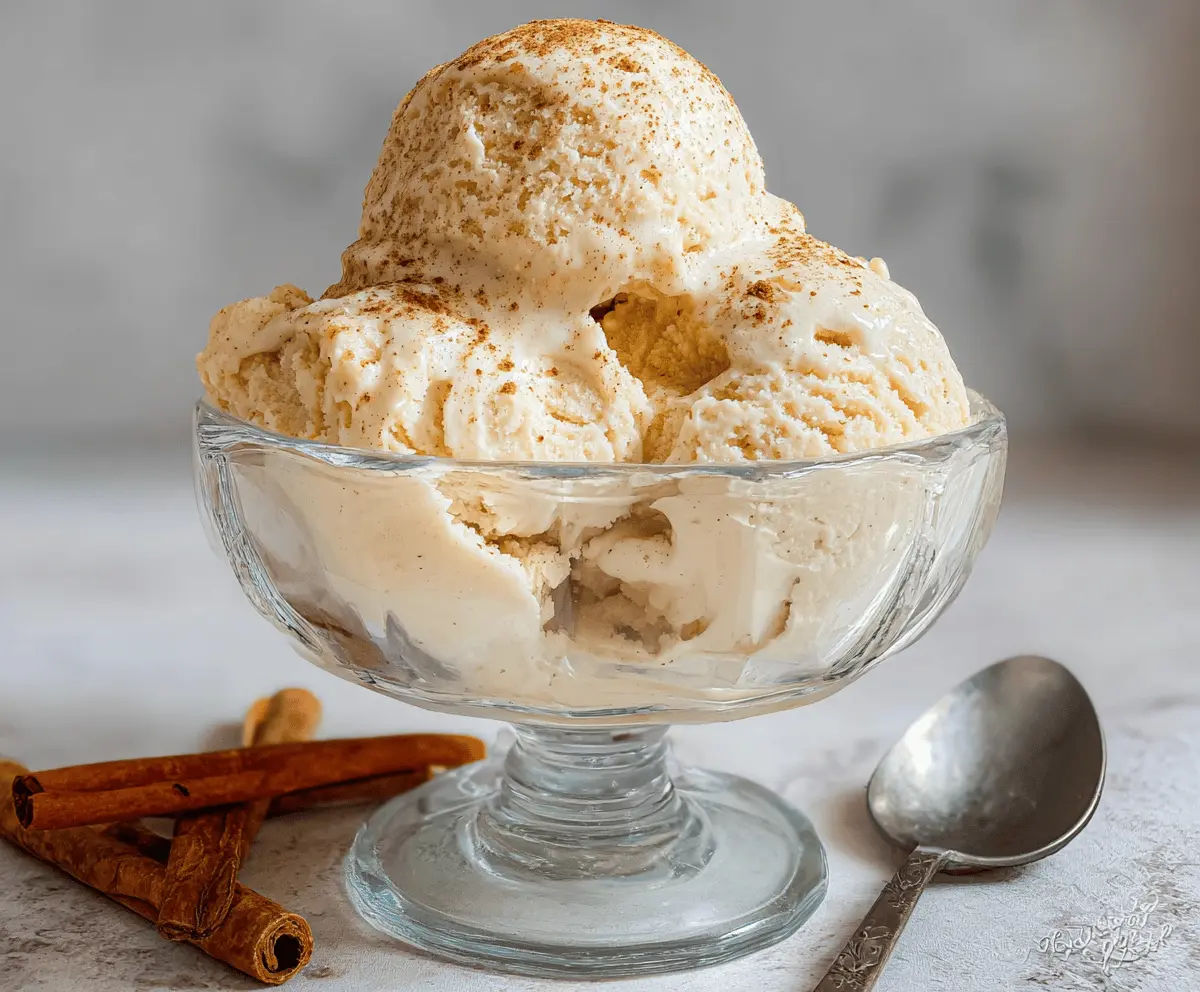
As the holiday season draws near, the air fills with the aroma of warming spices and the promise of festive delights. Among these cherished traditions, eggnog stands out as a quintessential taste of the season. But what if you could transform that beloved, creamy beverage into an even more decadent experience? Enter eggnog ice cream – a sensational treat that captures all the comforting flavors of the holidays in a refreshingly smooth, frozen dessert. Imagine ending a festive dinner with a bowl of this rich, nutmeg-kissed creation; it's truly like Christmas in every spoonful.
Making homemade eggnog ice cream is not only surprisingly simple but also incredibly rewarding. It allows you to control the quality of ingredients and fine-tune the flavors to your preference, resulting in a dessert far superior to any store-bought alternative. This guide will walk you through everything you need to know to whip up a batch that will impress your guests and become a highly anticipated addition to your holiday spread.
Why Homemade Eggnog Ice Cream is a Must-Try This Season
There's a special magic that comes with homemade treats, and eggnog ice cream is no exception. Beyond the joy of creating something delicious from scratch, there are several compelling reasons to add this recipe to your holiday repertoire:
- Unmatched Freshness and Flavor: When you make it yourself, you control the quality of every ingredient, from the dairy to the spices. This translates into a richer, more vibrant flavor profile that truly sings of the holidays. You can ensure your eggnog is top-notch, which directly impacts the final product.
- Customization at Your Fingertips: Prefer a stronger nutmeg punch? Craving a hint of bourbon? With homemade eggnog ice cream, you can tailor the sweetness, spice level, and even add a boozy kick to your liking. This level of personalization is impossible with pre-made versions.
- Impress Your Guests: Serving a homemade dessert always adds a special touch to any gathering. Guests are often delighted by the thoughtfulness and effort, and the unique flavor of homemade eggnog ice cream is sure to leave a lasting impression, often prompting requests for second helpings!
- Versatility Beyond the Bowl: While delightful on its own, this ice cream is also a fantastic accompaniment. Spoon it over a warm slice of apple pie, pair it with gingerbread cookies, or even use it as the base for a festive milkshake. Its creamy texture and classic holiday flavor make it incredibly adaptable.
The Essential Ingredients for Unforgettable Eggnog Ice Cream
The secret to truly outstanding eggnog ice cream lies in a thoughtful selection of ingredients. Each component plays a vital role in achieving that perfect creamy texture and balanced festive flavor. Here’s a detailed look at what you’ll need and potential substitutions:
- Whole Milk: This forms the base of your custard, contributing essential liquid and helping to create that smooth, creamy consistency. For a slightly lighter version, you can substitute with 2% milk, but be prepared for a marginally less rich final product. For a non-dairy option, unsweetened full-fat coconut milk or almond milk can work, though they will subtly alter the flavor and texture.
- Heavy Cream: The cornerstone of rich, luxurious ice cream, heavy cream is indispensable for achieving that dreamy, velvety texture. Its high-fat content prevents ice crystals from forming, ensuring a super-smooth mouthfeel. If you're looking for a slightly lower-fat alternative, half-and-half can be used, but understand that the ice cream won't be quite as indulgent. For a dairy-free version, full-fat coconut cream (chilled, with the solid part scooped out) is an excellent substitute that mimics the richness quite well, though it will impart a coconut flavor.
- Granulated Sugar: Beyond sweetness, sugar also helps lower the freezing point of the mixture, contributing to a softer, scoopable ice cream. You can experiment with brown sugar for a deeper, more caramel-like undertone, or use a sugar substitute if you're managing your sugar intake. Be aware that artificial sweeteners may affect the texture, sometimes resulting in a harder ice cream.
- Egg Yolks: These are crucial for creating the luscious, smooth custard base that defines premium ice cream. Egg yolks act as emulsifiers, binding fat and water together, and contribute significantly to the richness and creamy texture. If you need to avoid eggs, cornstarch can be used as a thickener, but it won't replicate the exact silky texture and emulsifying properties of yolks.
- Eggnog (the Star!): The heart and soul of this dessert! You can use any good quality store-bought eggnog, but for ultimate flavor control and freshness, consider making your own. If opting for a dairy-free version, several brands now offer almond or coconut-based eggnogs that work wonderfully. Just be mindful that these will subtly influence the final flavor profile of your ice cream. For tips on selecting the best eggnog, check out our guide: Best Homemade Eggnog Ice Cream Recipe & Key Ingredient Tips.
- Ground Nutmeg: This warming spice is the quintessential flavor of eggnog and brings that classic holiday cheer. Freshly grated nutmeg offers the most potent and aromatic experience. If you don't have nutmeg on hand, cinnamon is a nice alternative, though it will lean the flavor profile more towards a spiced vanilla. A pinch of ground cloves or allspice can also be added for a more complex spice blend.
- Vanilla Extract: A splash of good quality vanilla extract enhances all the other flavors, adding depth and warmth. Don't skip it!
- Pinch of Salt: A small amount of salt is essential for balancing the sweetness and brightening all the other flavors.
- Optional Rum or Bourbon: For an authentic, adult-friendly flavor, 1-2 tablespoons of rum or bourbon can be added. The alcohol also subtly lowers the freezing point of the mixture, contributing to a slightly softer, more scoopable ice cream, preventing it from becoming rock-hard in the freezer.
Mastering the Method: Crafting Your Creamy Custard Base
The secret to achieving super creamy eggnog ice cream lies in the technique of making the custard base, particularly tempering the egg yolks. This step ensures a velvety smooth texture and prevents the eggs from scrambling, which is key to avoiding a gritty or lumpy ice cream. Don't be intimidated; it's a straightforward process that makes all the difference. For more detailed insights into this crucial technique, read our article: Achieve Super Creamy Eggnog Ice Cream with This Simple Trick.
The Tempering Process Explained:
- Heat the Dairy: In a medium saucepan, gently combine your whole milk, heavy cream, and about half of your granulated sugar. Heat this mixture over medium heat, stirring occasionally, until it's hot but not boiling. You want to see wisps of steam and feel it warm to the touch. This gentle heat helps to warm the yolks gradually later.
- Prepare the Yolks: In a separate bowl, whisk together the egg yolks with the remaining granulated sugar until the mixture becomes pale yellow and slightly thickened. This vigorous whisking incorporates air and helps to "strengthen" the yolks.
- Slowly Temper: This is the crucial step. While continuously whisking the egg yolk mixture, slowly drizzle about one cup of the hot milk mixture into the yolks. This gradual addition brings the temperature of the yolks up slowly, preventing them from cooking too quickly and scrambling. Keep whisking vigorously the entire time!
- Combine and Cook: Once tempered, pour the entire yolk mixture back into the saucepan with the rest of the hot milk mixture. Continue cooking over medium-low heat, stirring constantly with a wooden spoon or spatula, until the mixture thickens enough to coat the back of the spoon. It should not boil. This typically takes about 5-8 minutes.
- Strain and Chill: Remove the custard from the heat. Stir in the eggnog, vanilla extract, nutmeg, salt, and any optional rum or bourbon. For an extra-smooth finish, you can strain the custard through a fine-mesh sieve into a clean bowl. This catches any tiny bits of cooked egg or undissolved spice.
- Chill Thoroughly: Cover the custard tightly with plastic wrap, pressing it directly onto the surface to prevent a skin from forming. Chill the mixture in the refrigerator for at least 4 hours, or ideally, overnight. Chilling is paramount; it allows the flavors to meld beautifully and ensures the mixture is cold enough for your ice cream maker to churn efficiently, leading to a creamier texture.
- Churn and Freeze: Once thoroughly chilled, pour the mixture into your ice cream maker and churn according to the manufacturer's instructions. This usually takes 20-30 minutes, until it reaches a soft-serve consistency. Transfer the churned ice cream to an airtight container and freeze for at least 4 hours (or overnight) to allow it to firm up to a scoopable texture.
Recipe & Beyond: Tips for the Perfect Scoop
Easy Homemade Eggnog Ice Cream Recipe
Yields: Approx. 1 quart
Prep time: 15-20 minutes active; 8 hours total (including chilling & freezing)
Ingredients:
- 2 cups whole milk
- 1 cup heavy cream
- ¾ cup granulated sugar (divided into 3/8 cup portions)
- 5 large egg yolks
- ½ cup store-bought or homemade eggnog
- 1 tsp vanilla extract
- ½ tsp ground nutmeg, plus extra for garnish
- Pinch of salt
- Optional: 1-2 tbsp rum or bourbon
Instructions:
- In a medium saucepan, combine milk, heavy cream, and 3/8 cup granulated sugar. Heat over medium heat, stirring occasionally, until hot but not boiling.
- In a separate bowl, whisk egg yolks and remaining 3/8 cup sugar until pale and slightly thickened.
- Temper the yolks: Slowly drizzle about 1 cup of the hot milk mixture into the egg yolks while continuously whisking.
- Pour the tempered yolk mixture back into the saucepan. Cook over medium-low heat, stirring constantly, until the mixture thickens and coats the back of a spoon. Do not boil.
- Remove from heat. Stir in eggnog, vanilla, ½ tsp nutmeg, salt, and optional rum/bourbon. Strain through a fine-mesh sieve if desired.
- Cover and chill in the refrigerator for at least 4 hours, or overnight.
- Churn the chilled mixture in an ice cream maker according to manufacturer's instructions until it reaches a soft-serve consistency.
- Transfer to an airtight container and freeze for at least 4 hours, or until firm.
- Serve garnished with a sprinkle of fresh nutmeg.
Customization & Serving Suggestions:
- Spice It Up: Enhance the holiday flavor by adding a tiny pinch of ground clove or allspice to the custard base.
- Mix-Ins: Fold in candied pecans, finely chopped white chocolate, or a swirl of caramel sauce after churning for added texture and flavor.
- Beyond the Bowl: Serve a scoop atop warm apple crumble, a slice of pumpkin pie, or even in a glass of coffee for an "eggnog affogato."
- Garnishes: A simple dusting of fresh nutmeg or a dollop of whipped cream elevates the presentation.
Troubleshooting Common Issues:
- Too Icy: This often means too little fat or too much water. Ensure you're using whole milk and heavy cream, and consider the optional rum/bourbon to help prevent large ice crystal formation. Churning efficiency also plays a role, so ensure your ice cream maker's bowl is sufficiently frozen.
- Too Soft: It simply needs more time in the freezer! Homemade ice cream tends to be softer than commercial varieties due to fewer stabilizers.
- Gritty Texture: This is a tell-tale sign that your eggs weren't tempered properly and scrambled slightly. Taking your time with the tempering process is key to a silky-smooth finish.
Embrace the Festive Flavor
There's an undeniable charm in serving a homemade dessert, especially during the holidays. This Easy Homemade Eggnog Ice Cream is more than just a sweet treat; it's an experience that captures the warmth, comfort, and festive spirit of the season. With its rich, creamy texture and signature nutmeg-spiced flavor, it's destined to become a cherished part of your holiday celebrations. So, gather your ingredients, take a moment to savor the process, and prepare to delight your loved ones with this unforgettable, homemade joy.
